
Getting started
Zenhoko turns any belonging into something a stranger can return to you — privately. This guide takes you from sign-up to your first live tag in about five minutes.
The four steps
Protecting an item comes down to four things: make an account, register the item, attach its tag, and you’re covered. Here’s each one.
- 1
Create your free account
Head to sign up and enter your email and a password. We’ll email you a six-digit code — type it in to confirm your address and you’re in. No credit card, and the free plan protects up to 5 items forever.
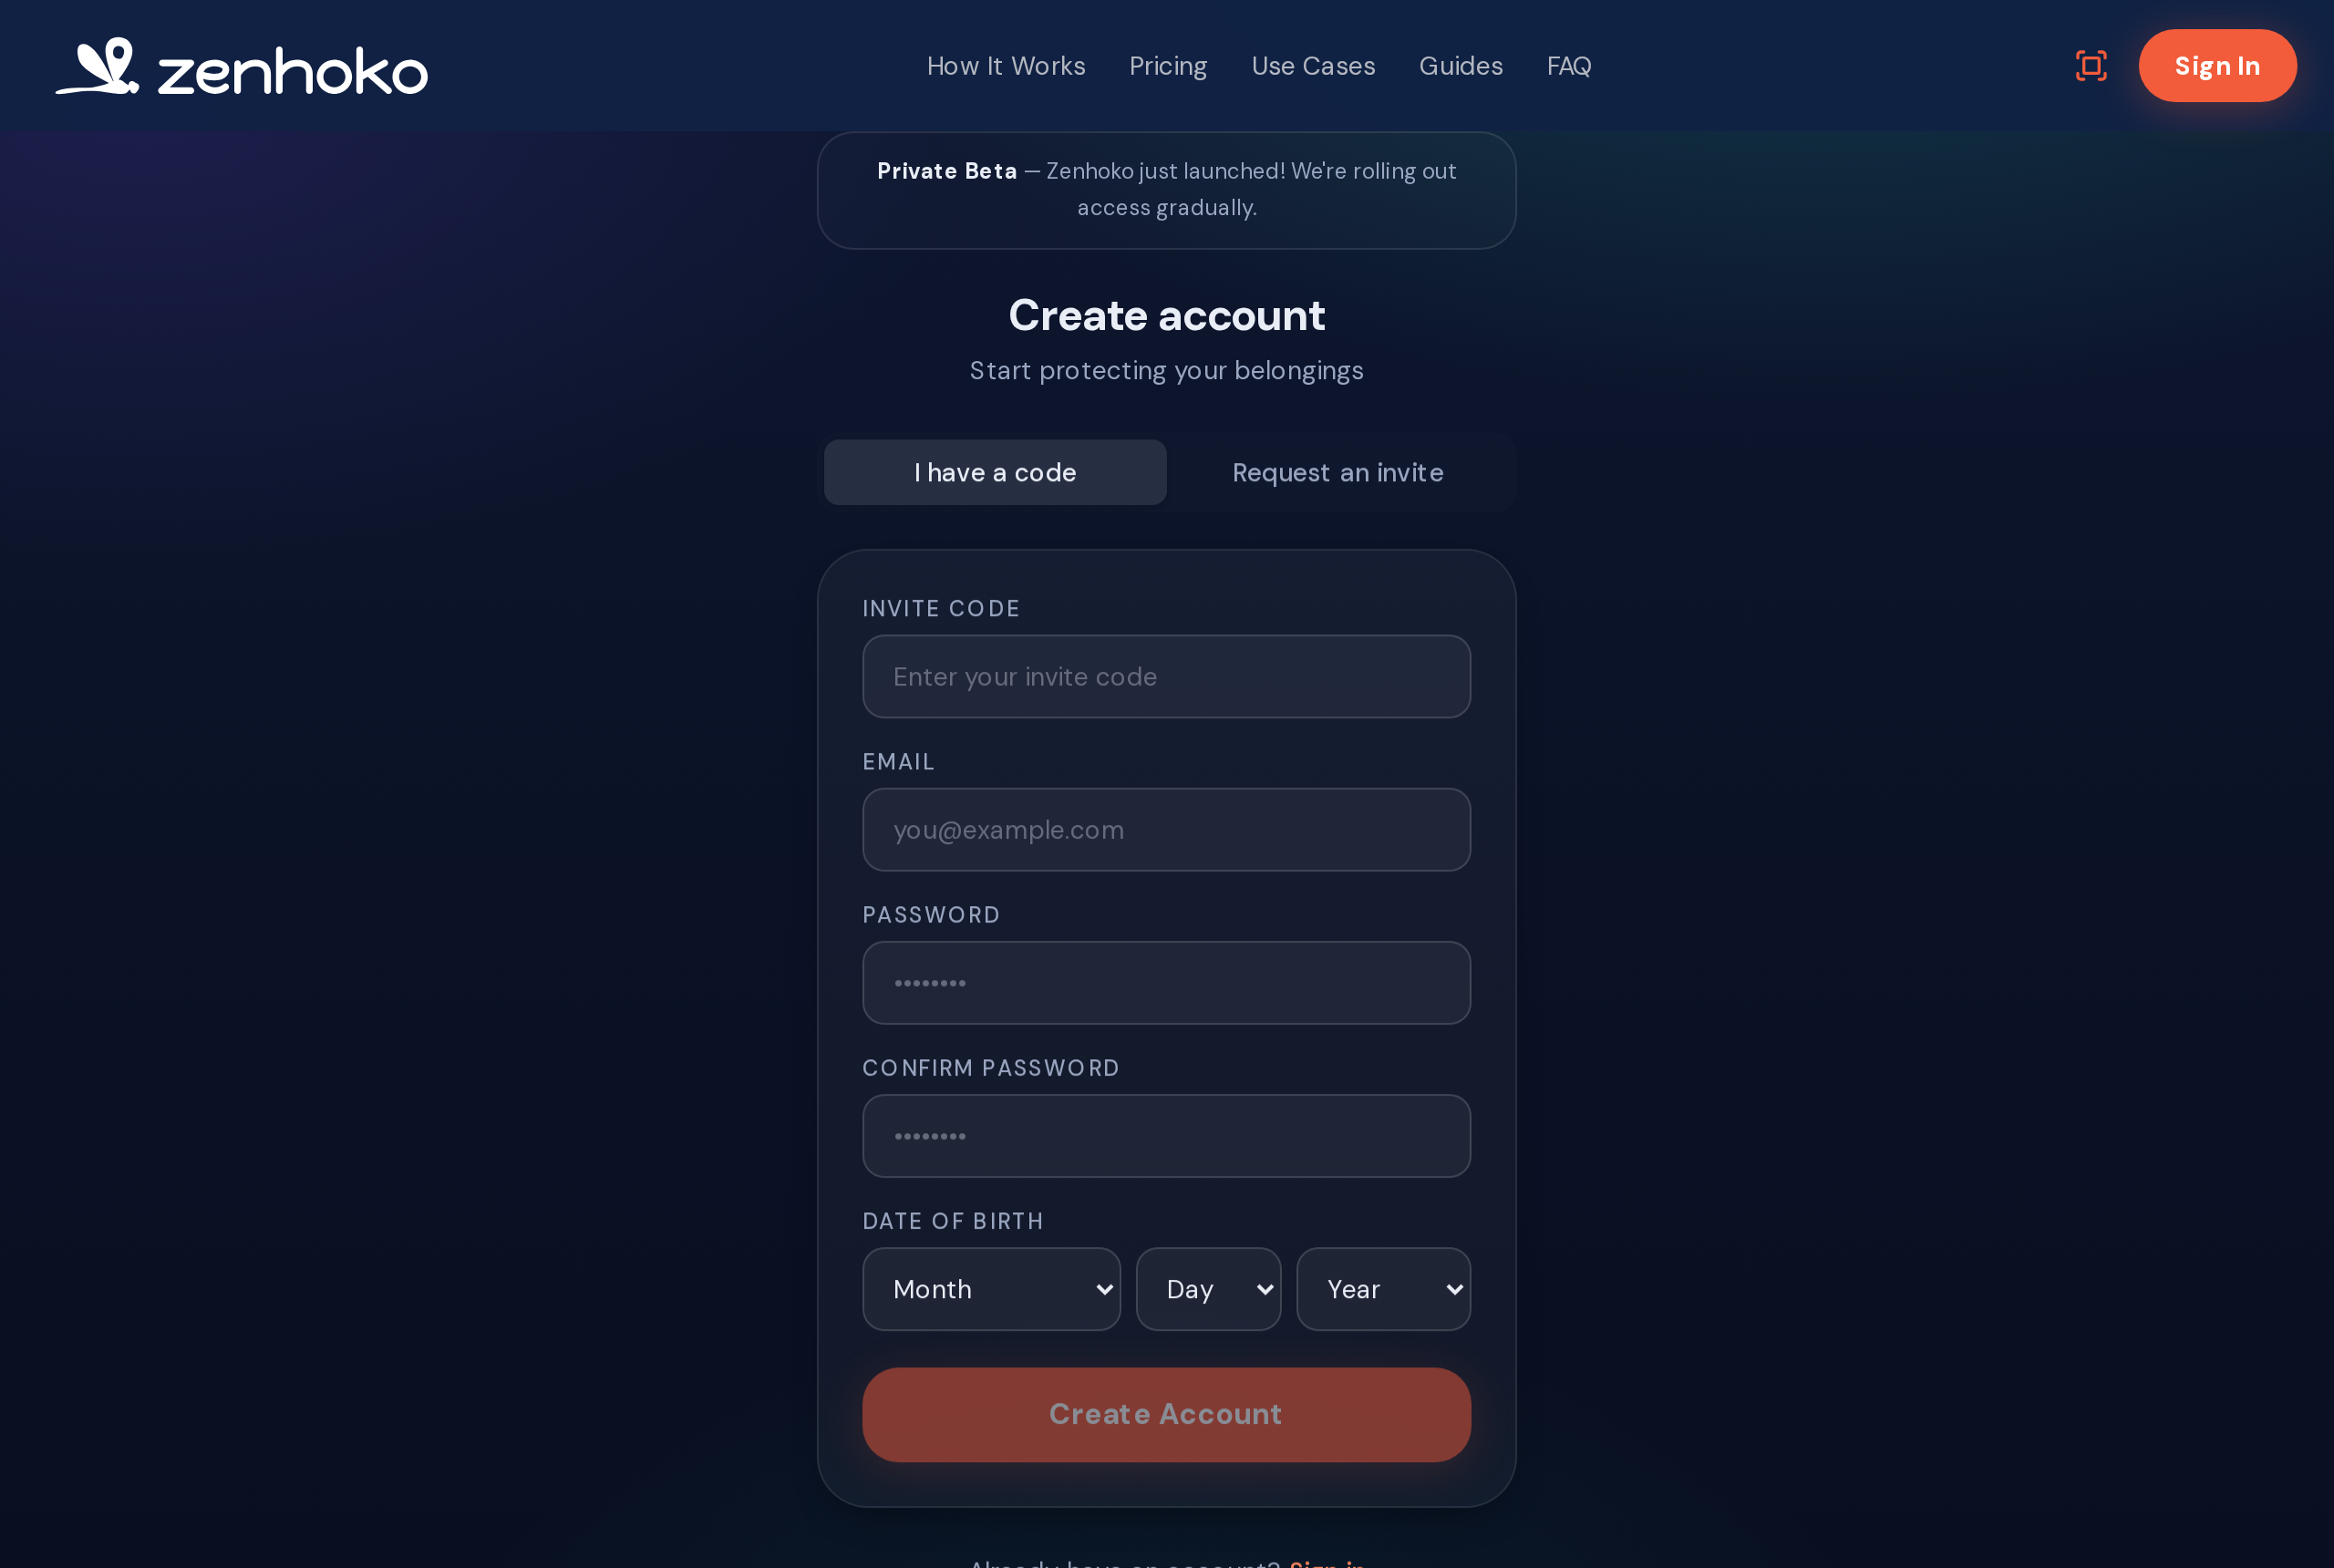
The sign-up screen — confirm with the six-digit code we email you. - 2
Register your first item
From your dashboard, tap Register Item. Give it a name (“House keys”, “Blue backpack”), pick a category, and optionally add a short description and a photo. When you save, Zenhoko instantly generates a unique QR code for that item.
Add a photo
A photo helps a finder confirm they’ve got the right item, and it noticeably improves the odds of a return. You can always add one later from the item’s page.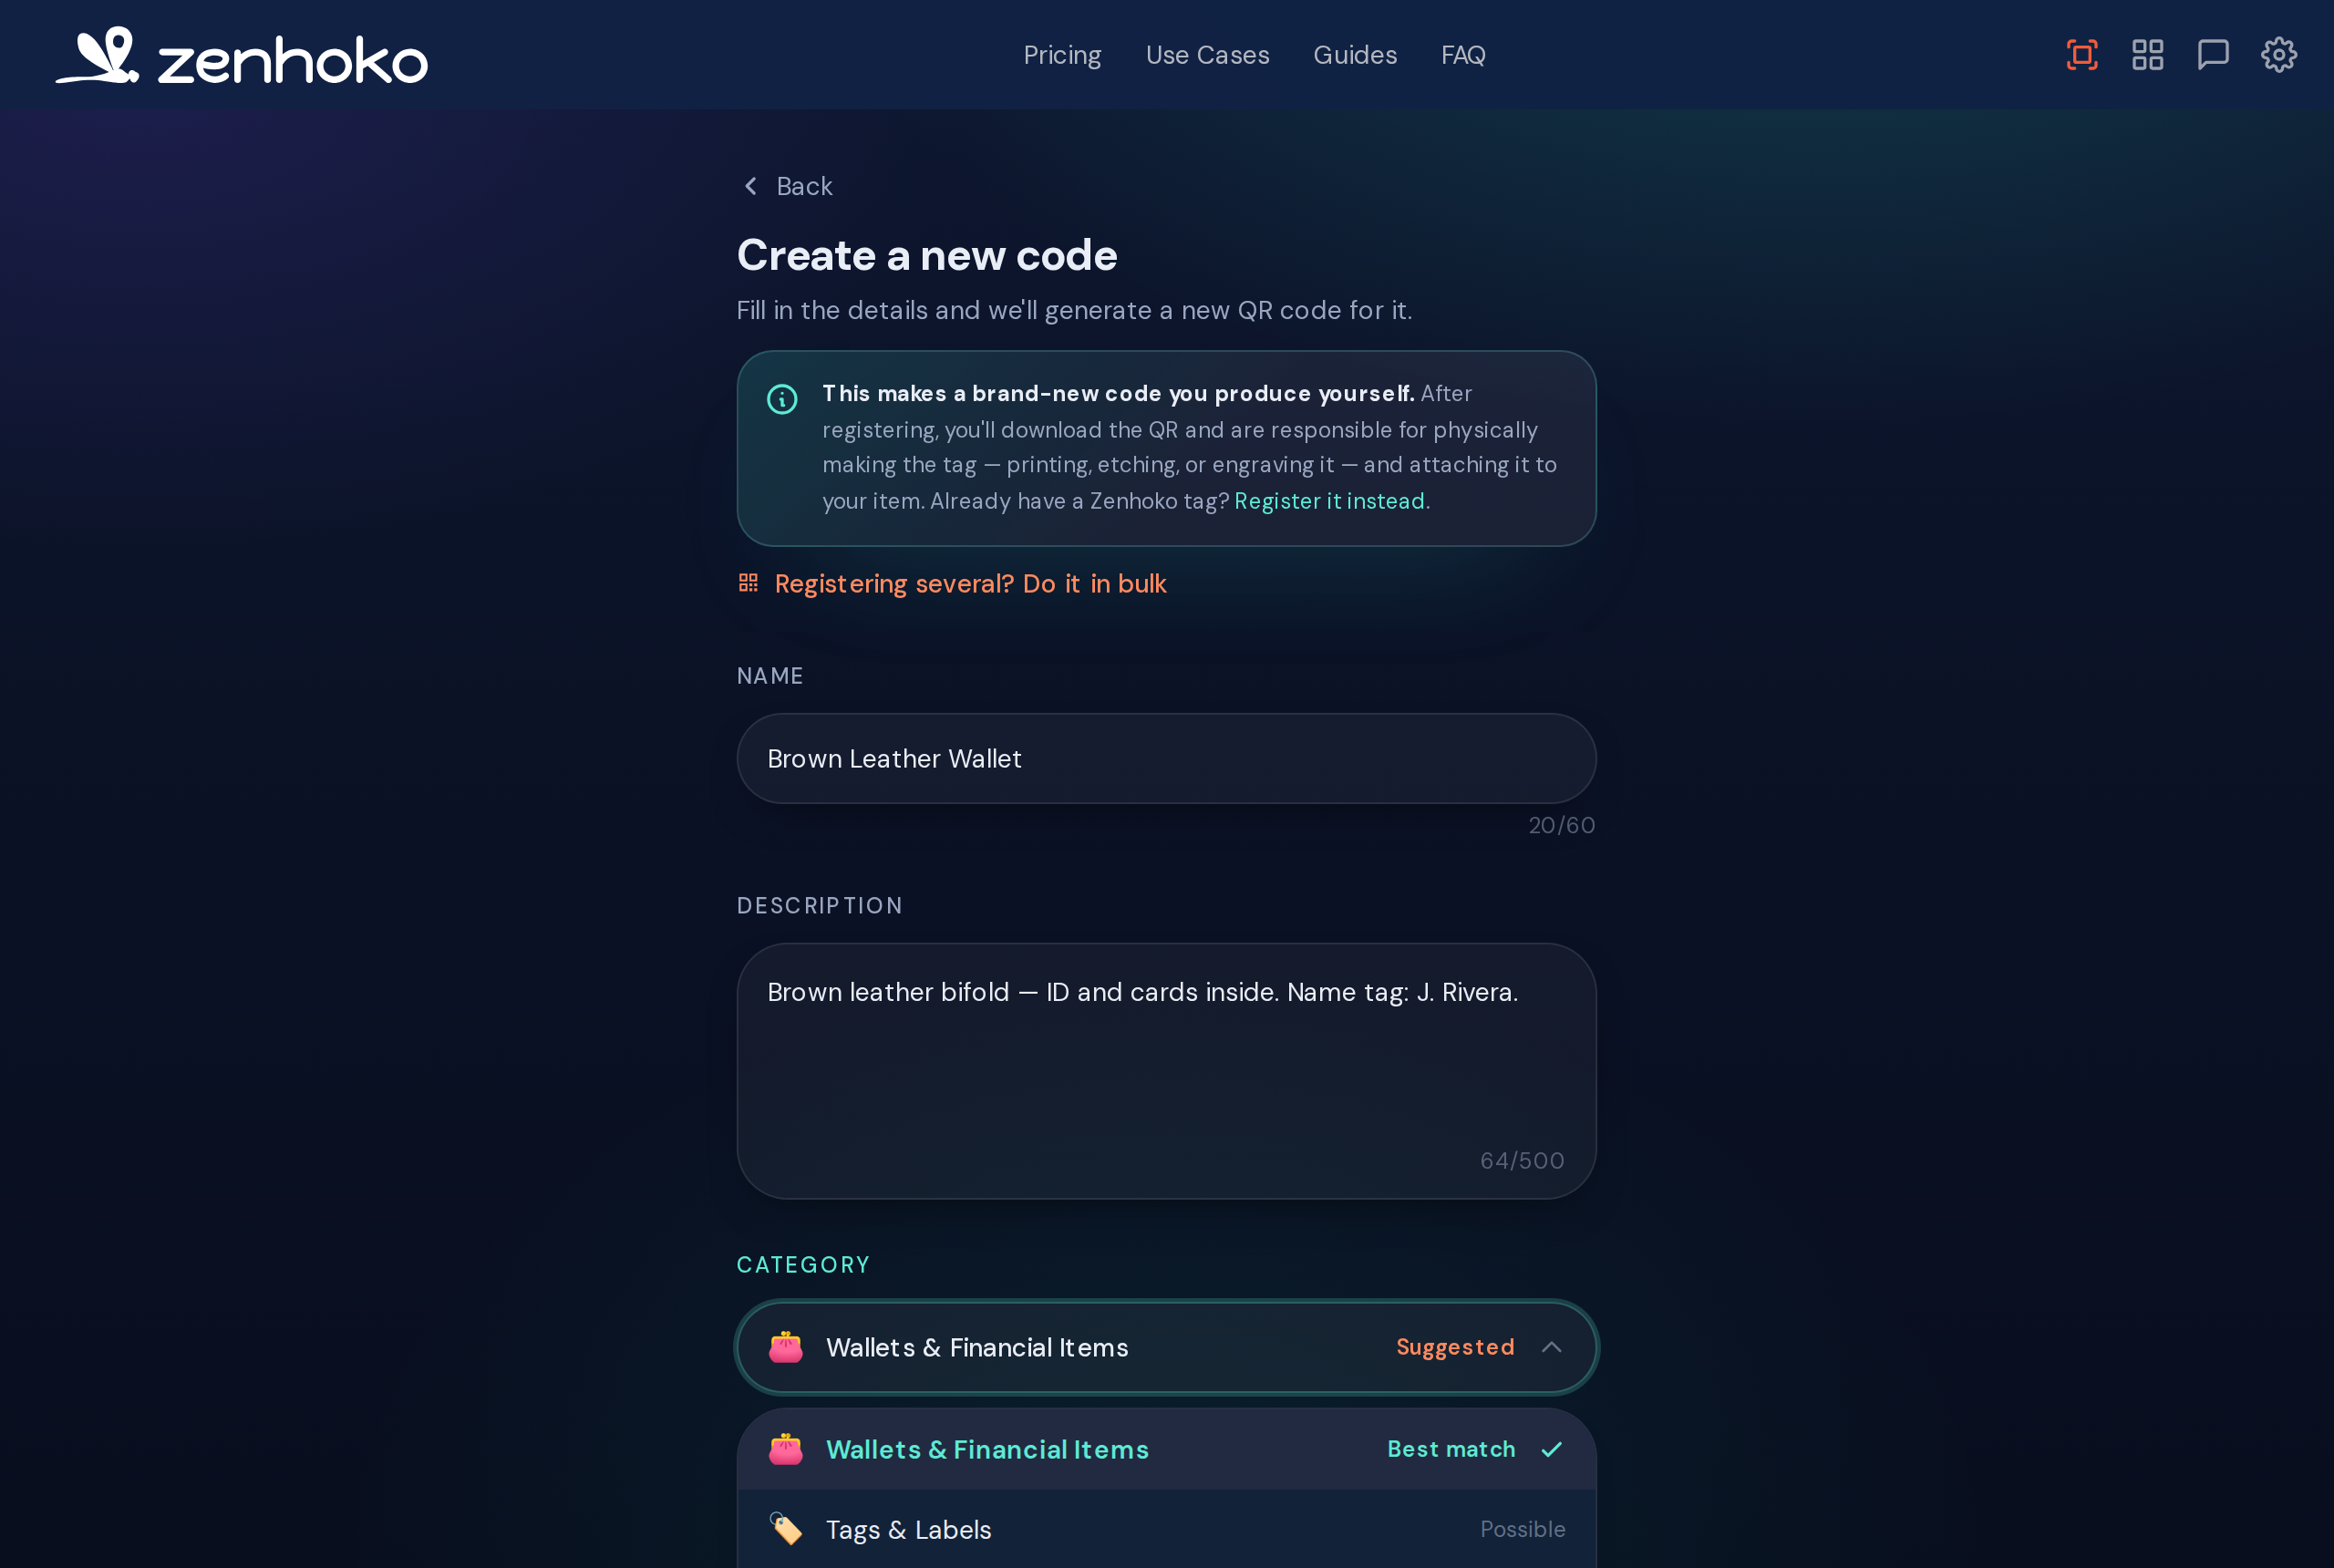
Fill in a name and category — the QR code is created automatically. - 3
Print and attach the tag
Download the QR code from the item’s page and print it — a home printer and adhesive label paper are plenty. Attach it somewhere a finder will actually look. Tagging several items at once? The print tool lays out a whole sheet of labels in one go.
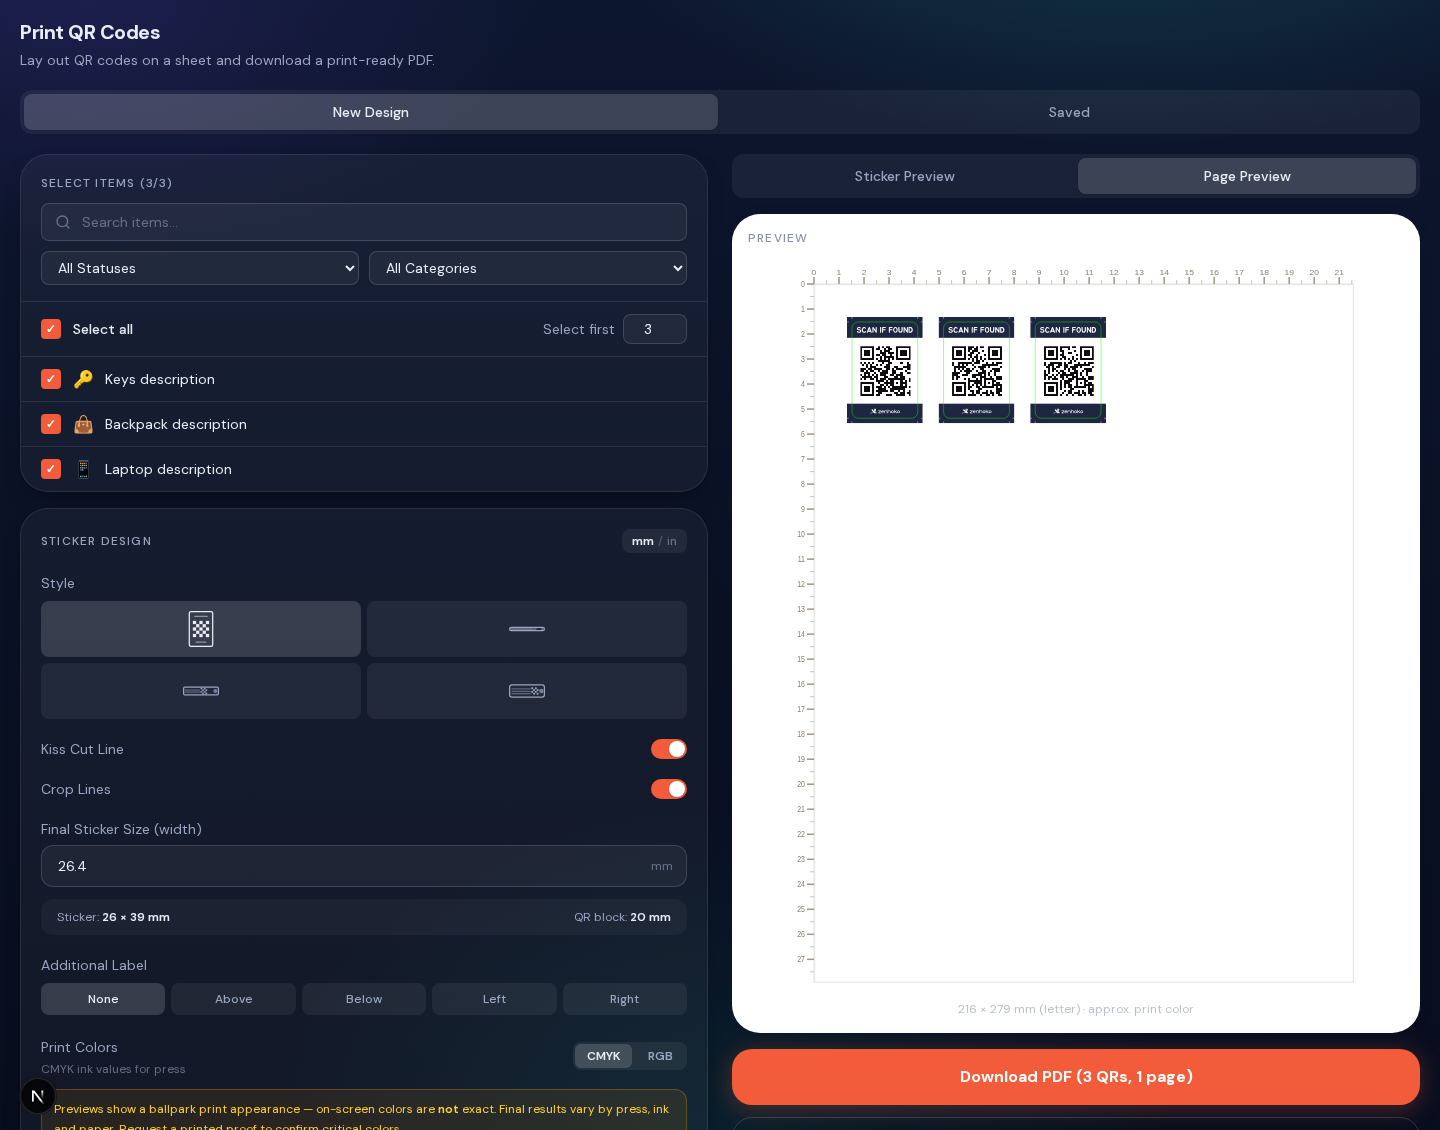
The print tool lays your selected tags out on a sheet — choose a sticker style and full page layout (paper size, orientation, columns, and margins), then download a print-ready PDF. 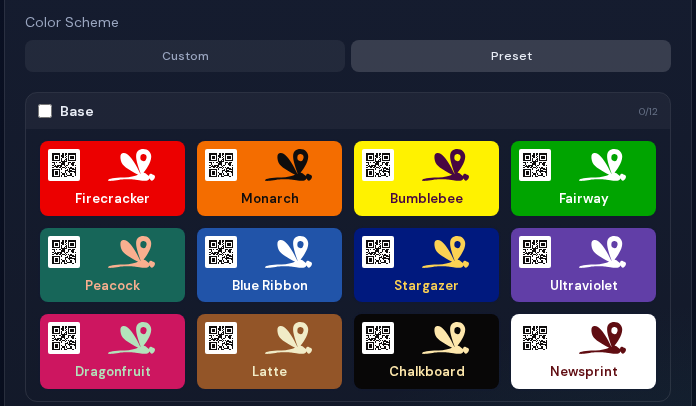
Pick a color scheme for the sticker and QR. Color customization is a paid feature (Personal tier and up) — on the free plan you can still print in the default scheme with a black QR, and all style, size, and page-layout controls stay available. Not sure where to put it? The Tag Guide has placement tips for keys, luggage, pets, electronics, and more.
- 4
See what a finder sees
That’s it — the tag is live. When someone scans it with their phone camera (no app needed), they land on your item’s page and can tap “I Found This Item” to message you. You’ll be notified and can reply from your Messages inbox.
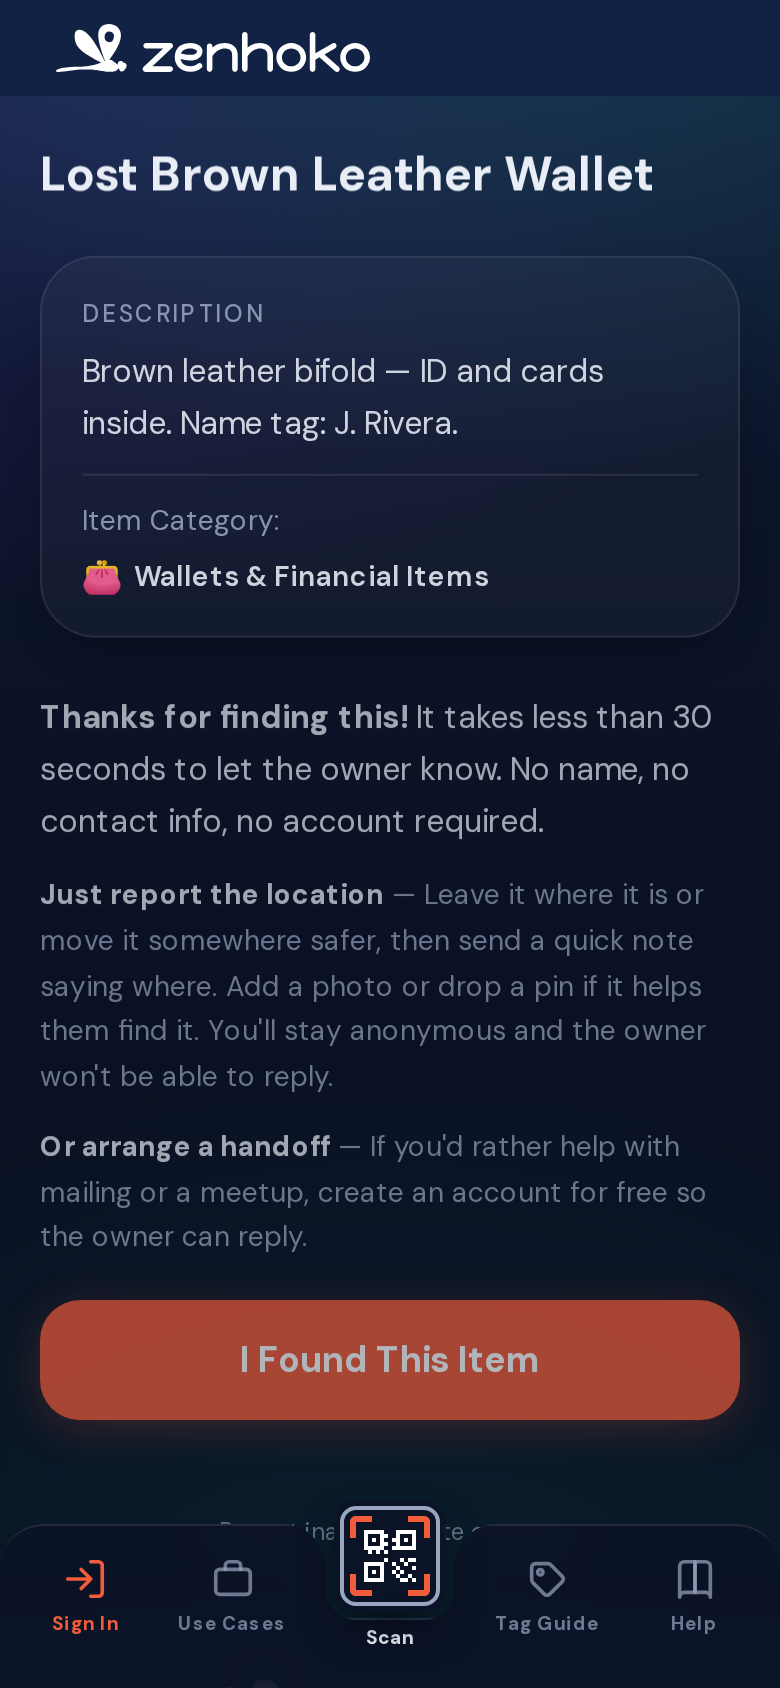
What a finder sees after scanning — just enough to identify the item and reach you.
Your privacy, by default
Your privacy
Want the full picture of how finder contact works on both sides? That’s covered in the Messages & finder contact guide.
Where to next
Once your first tag is live, these are the things most people do next:
- • Set your notification preferences so you hear about finds the way you want.
- • Tag the rest of your valuables — see the Tag Guide for what’s worth protecting.
- • Sharing items with family? Linked accounts let them help manage and respond.
Didn’t find what you needed? Browse the FAQ or contact support.