
Becoming a creator
Making or selling tagged products — engraved pet tags, luggage labels, keychains, a whole product line? Creator mode turns Zenhoko into a bulk tag factory: buy codes in advance, generate them by the hundred or thousand, and hand each one to a customer with their own claim key.
What creator mode adds
A normal account registers items one at a time for your own belongings. Creator mode is for producing tags for other people: you mint codes ahead of time, print or engrave them onto products, and release each one so the buyer can claim it into their own account.
Buy codes up front
Purchase QR credits in batches. Each credit becomes one code you can generate, print, and sell — they never expire.
Make them in bulk
Generate one code, a batch of hundreds, or import a whole CSV — then print them as a gang sheet and release with claim keys.
Getting set up
- 1
Enable creator features
From your dashboard, open Become a Creator. Optionally add a business name and website, then confirm. You’ll get 5 free codes to try the full flow, and a new Creations view appears on your dashboard alongside your personal items.
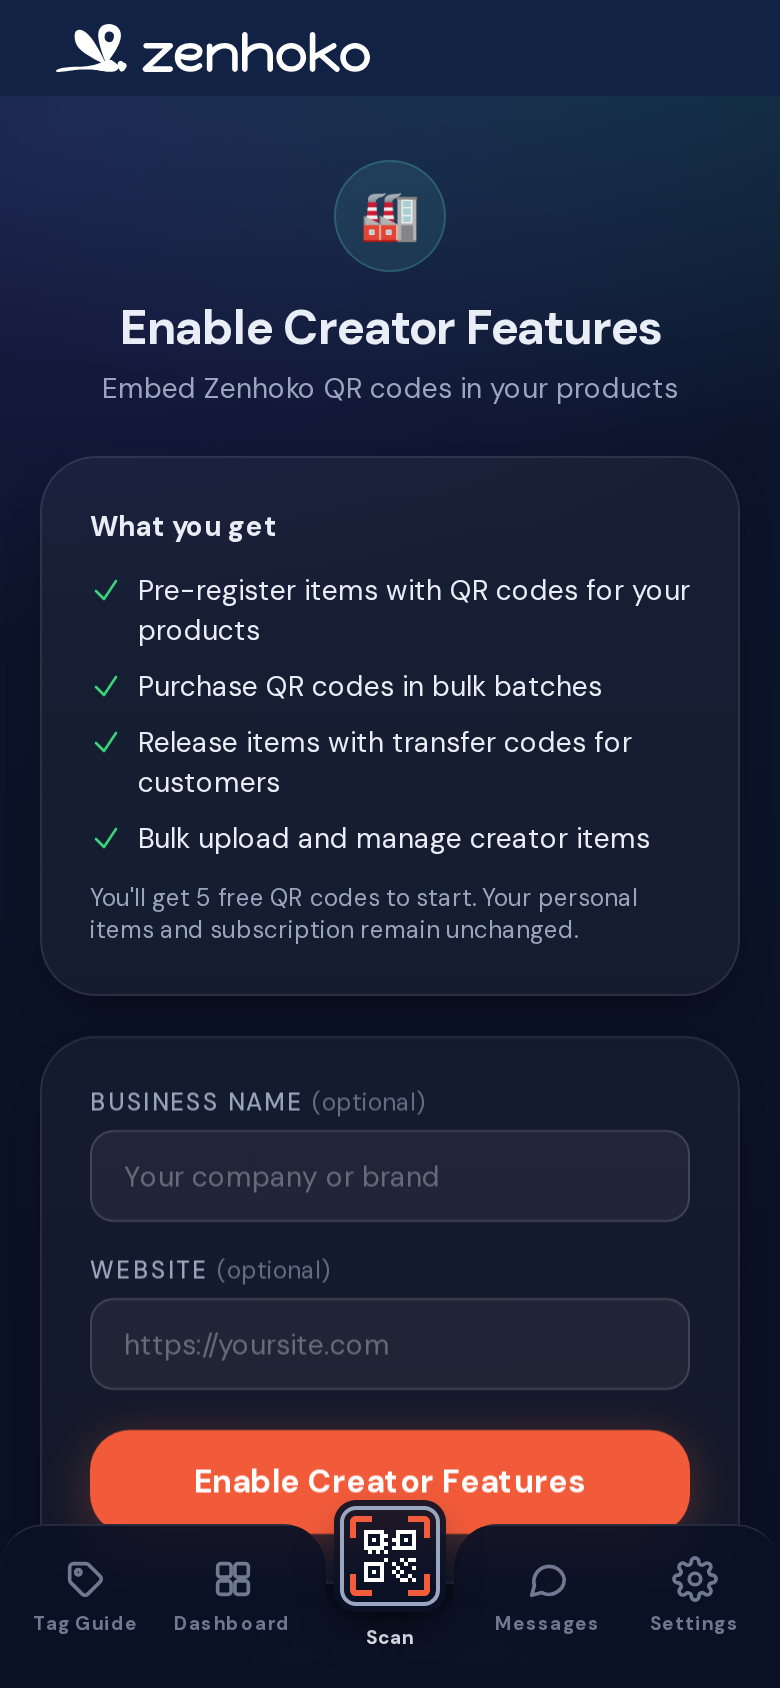
Enabling creator mode grants 5 free codes and unlocks the creator dashboard. - 2
Buy QR credits
When you’re ready to produce at scale, open Buy codes and pick a batch — from 100 up to a million. Bigger batches cost less per code, and credits never expire, so buy what a print run needs.
Credits are added by the payment, not on click
Codes land in your balance once payment succeeds (a moment after checkout). If a promo makes a bundle 100% off, it’s comped server-side and you won’t be asked for a card. - 3
Generate your items
There are three ways to mint codes, depending on volume:
- • One at a time — Create item for a single tag you’ll finish by hand.
- • In bulk — generate many blank codes at once, then edit them later.
- • From a spreadsheet — upload a CSV or JSON of up to 500 items (names, categories, descriptions) and mint them in one pass.
Fresh codes start as pre-registered drafts — not yet claimable — so you can print and prep them before anything goes live.
The creator dashboard
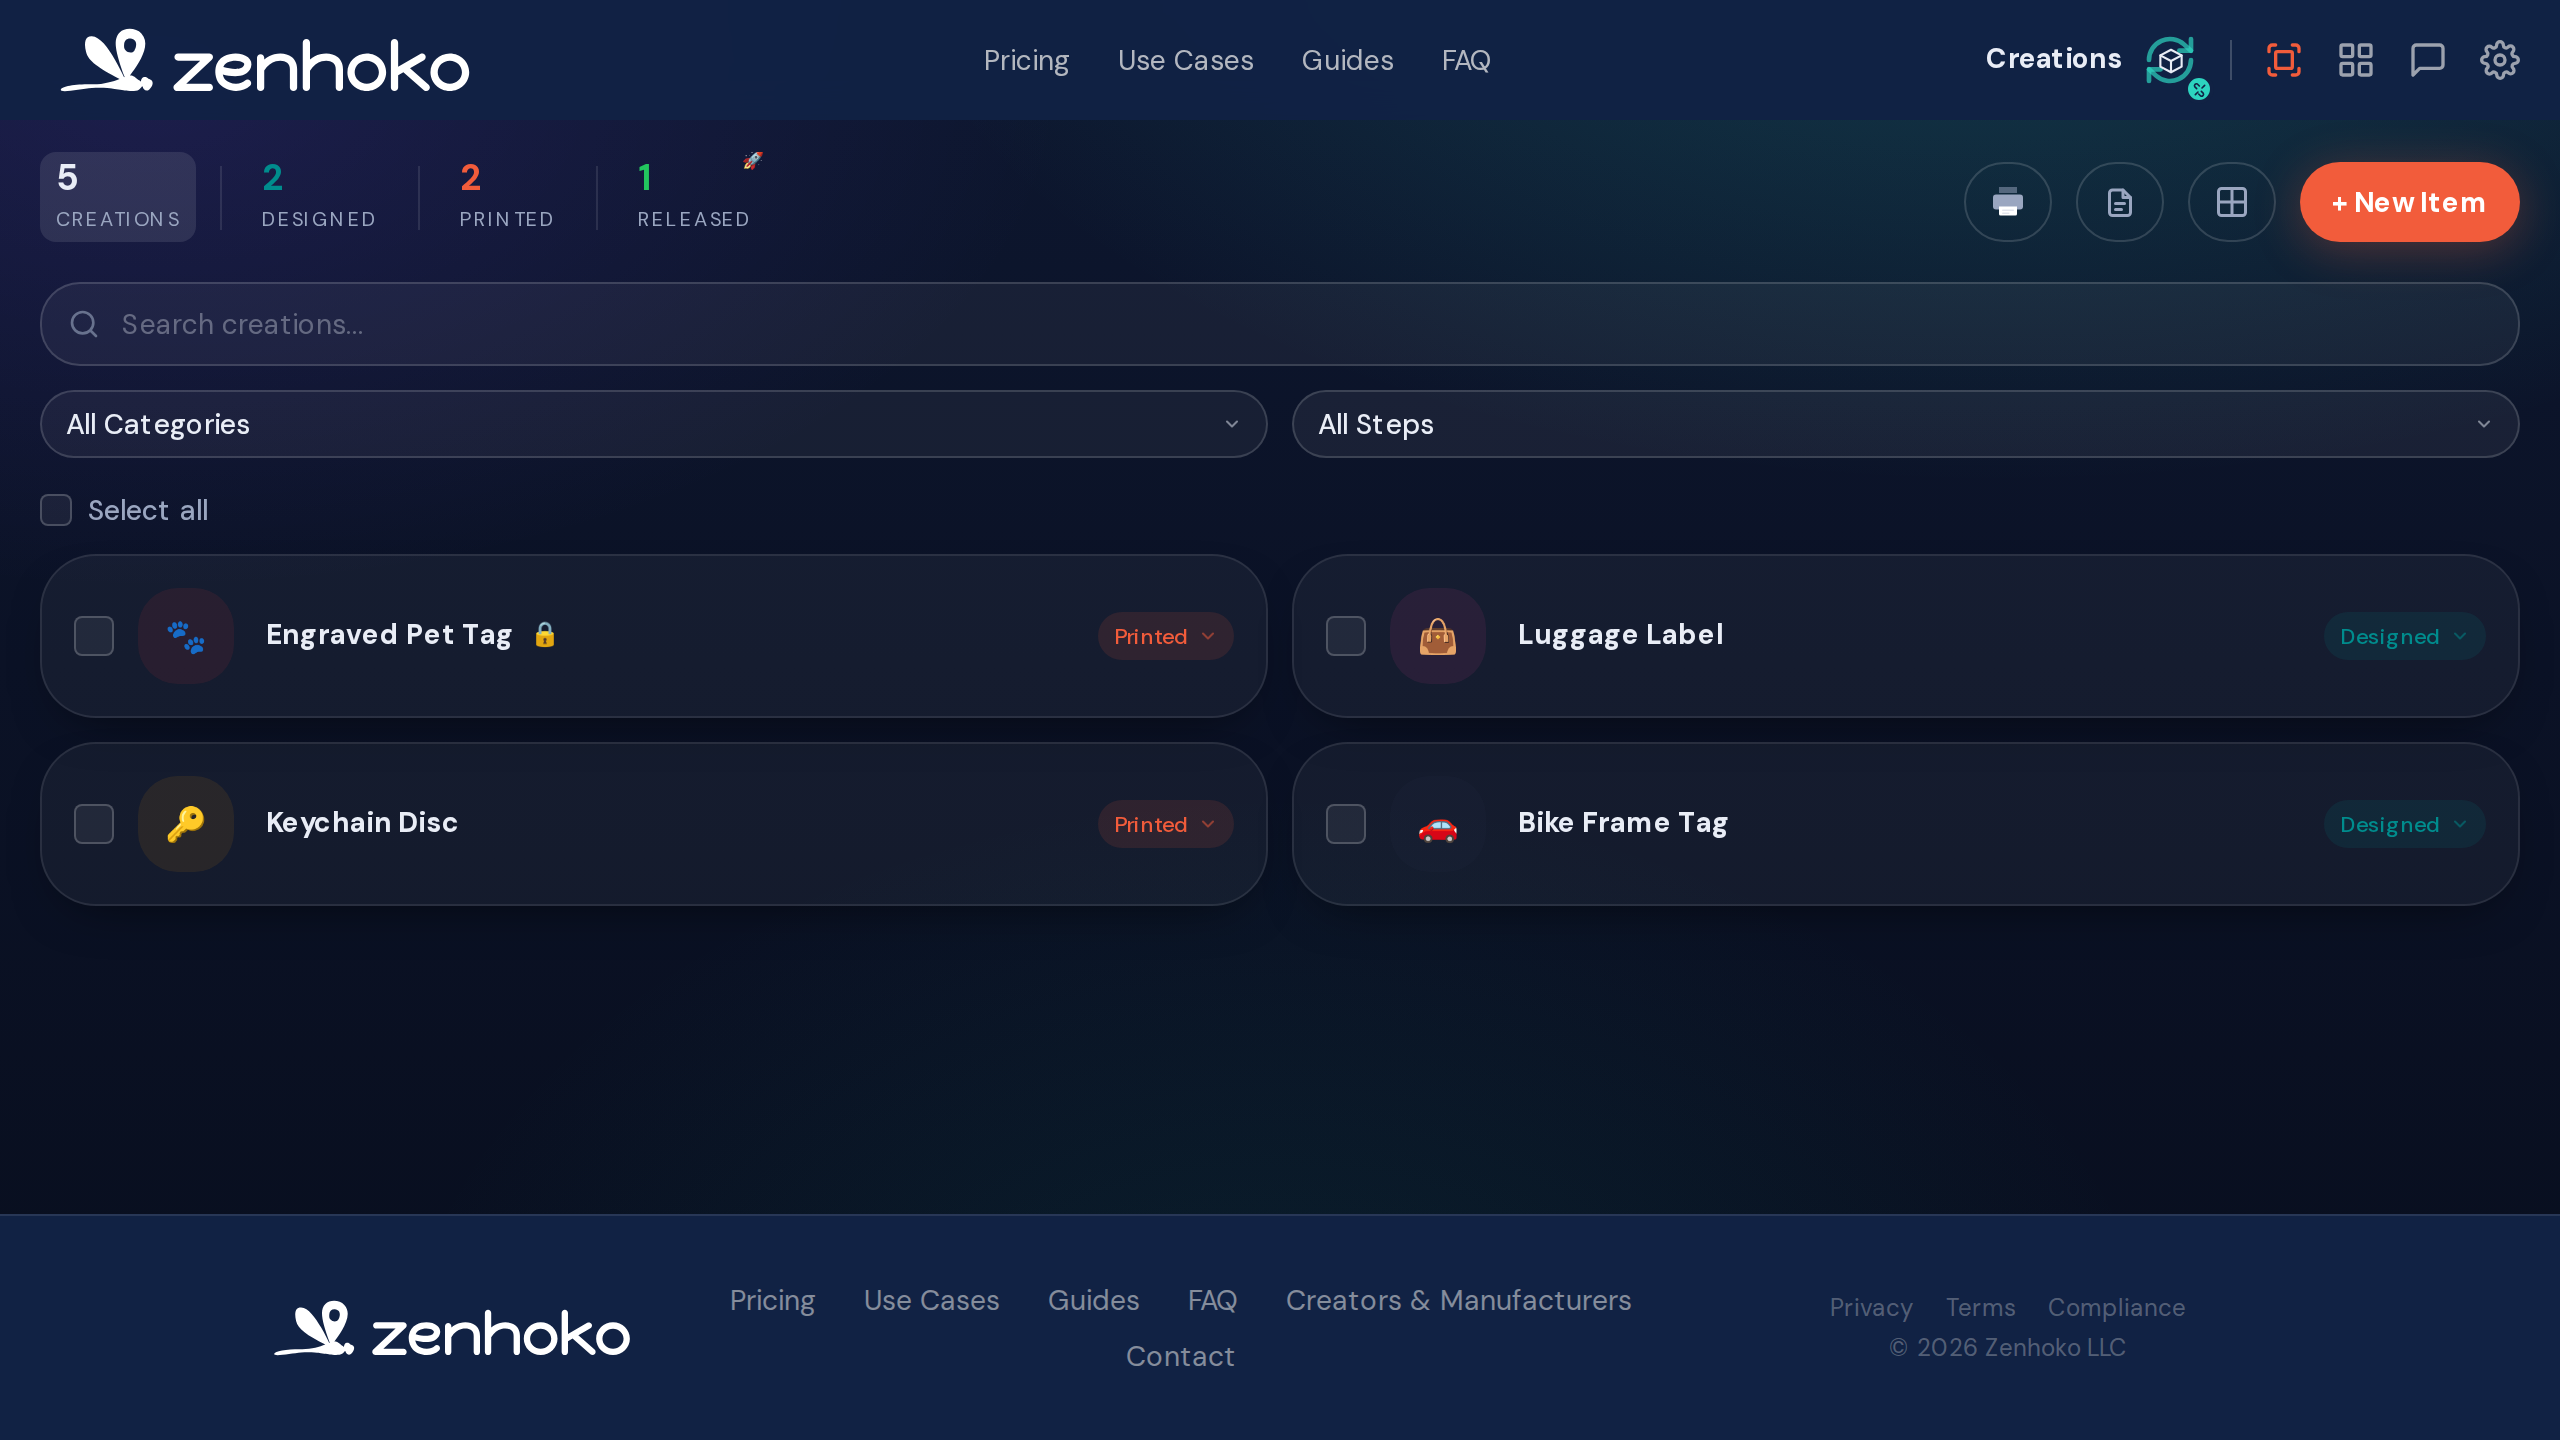
Your creator dashboard is built for managing hundreds of codes at once:
- • Workflow steps — define your production stages (e.g. Designed → Printed → Released) and move codes through them; the last step is the one that actually releases.
- • Filters & bulk edits — search, filter by step, select many, and edit them together.
- • Image library — upload a product photo once and reuse it across items; unclaimed items update automatically, claimed ones keep their frozen copy.
Locked codes & customer privacy
Once you release, the item is theirs
You choose identity lock per item when you create it — use it for engraved or moulded codes that can’t be re-assigned, and leave it off for stickers a buyer might repurpose.
Where to next
Didn’t find what you needed? Browse the FAQ or contact support.